ONLINE COSMETICS 2012
MORE INFO ABOUT COSMETICS
Showing posts with label NYC. Show all posts

Tuesday, August 2, 2011

FOTN: NYC Smoky Brown Eyes and Natural Nude Lips

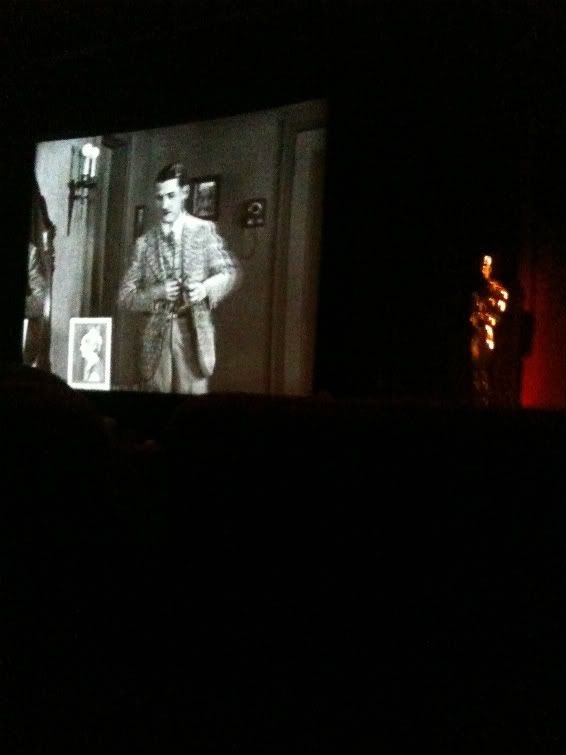
Last night, I went to go see a 1920's silent movie called "7th Heaven" at the Samuel Goldwyn Theater here in Los Angeles. I didn't think twice when my friends invited me since I've never seen a silent movie in a theater and I do enjoy old movies. It's the very first movie to be nominated for an Academy award. It's a melodramatic love story about a couple, Chico and Diane who overcame the war with hope, love and faithfulness. It was such an awesome movie. I especially liked the live music playing that went with the movie. I even cried in some parts lol. I couldn't help it. It reminded me so much of my relationship with Kiko. They will be play another silent movie next week and it will be the last screening, so I'll make sure not to miss it.

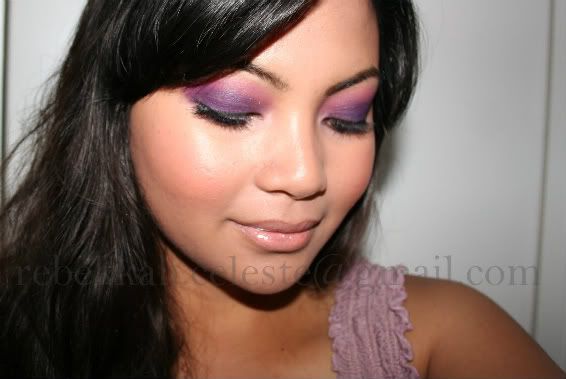
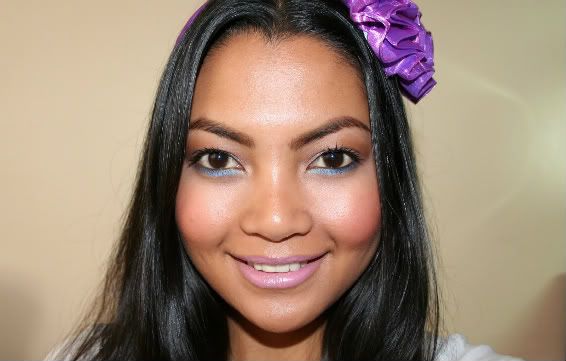
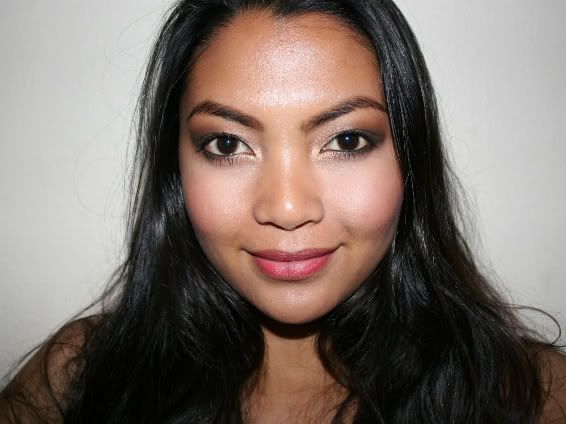
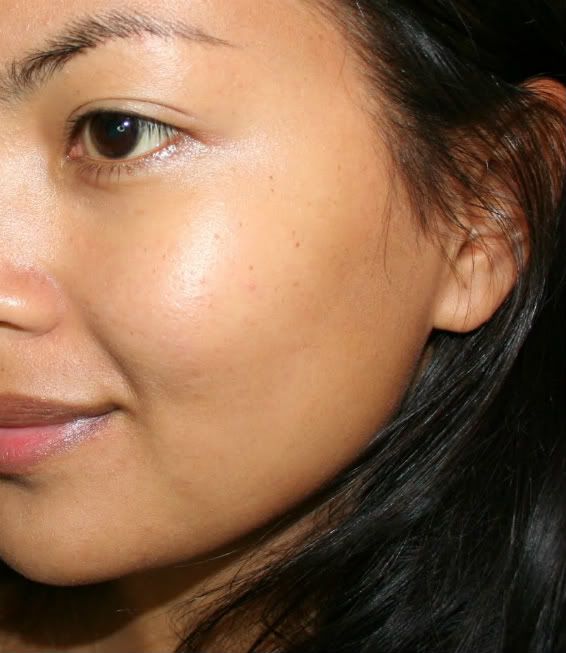
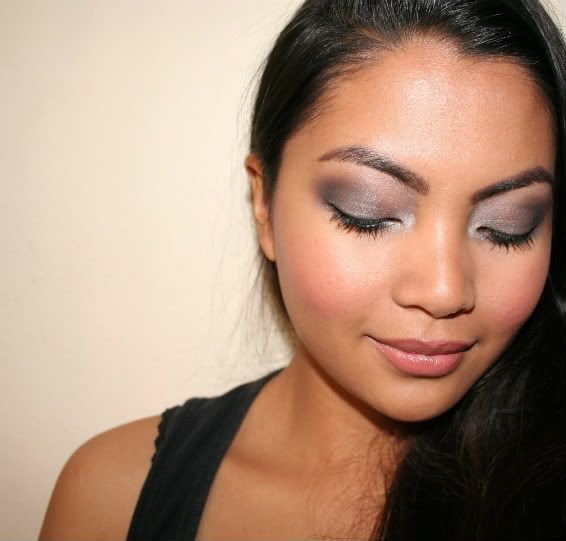
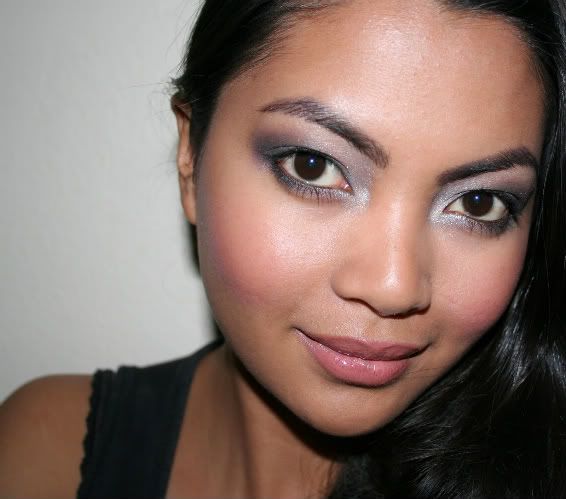
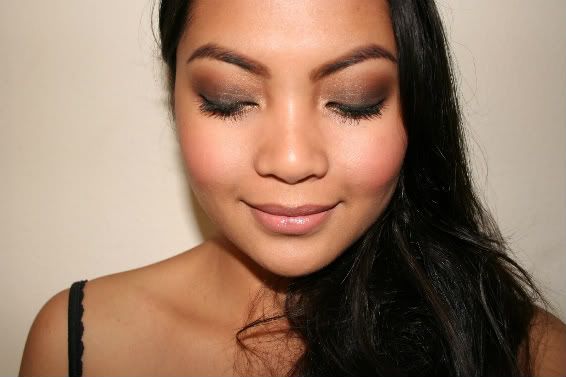
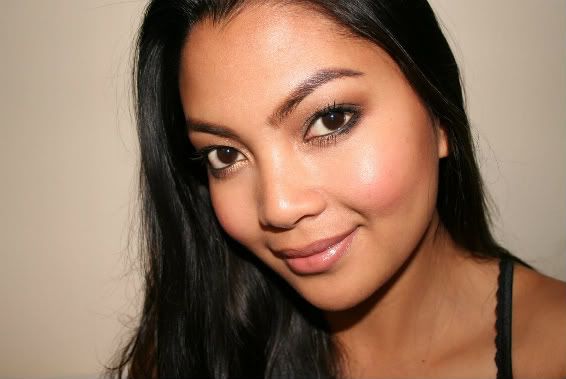
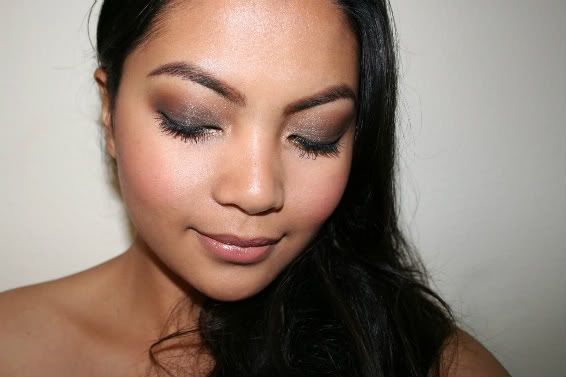
So, this is the makeup look I wore last night. I did a smoky eyes with natural nude lips. I've said it may times that smoky eyes is my favorite eye makeup to do because it's quick and easy (once you get the right technique). It's is a great alternative to my usual black smoky eyes. It's less intense, yet still dramatic and sultry. I recommend wearing this look for night time.


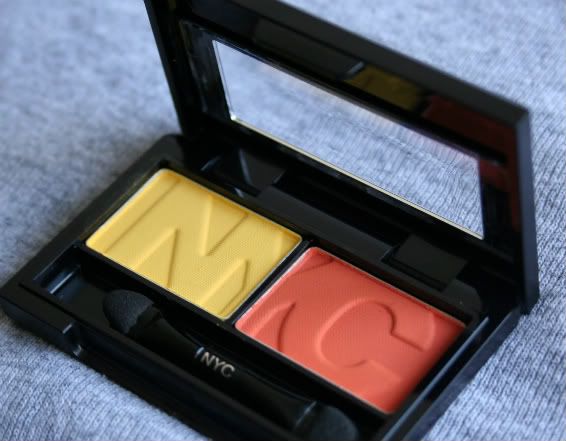
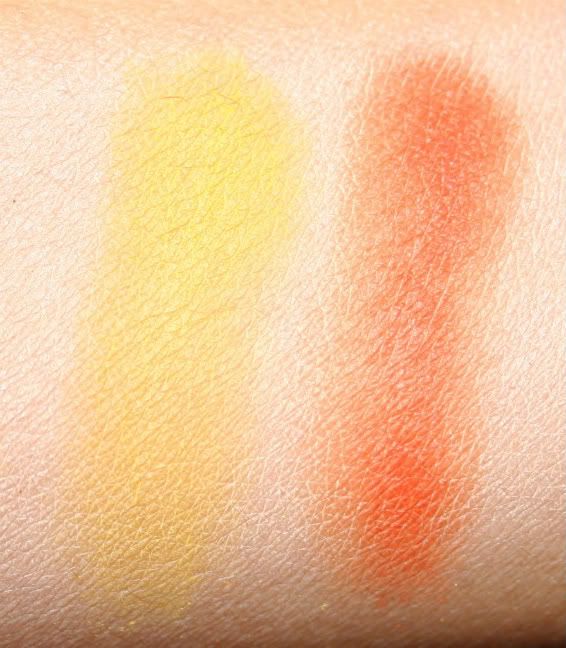
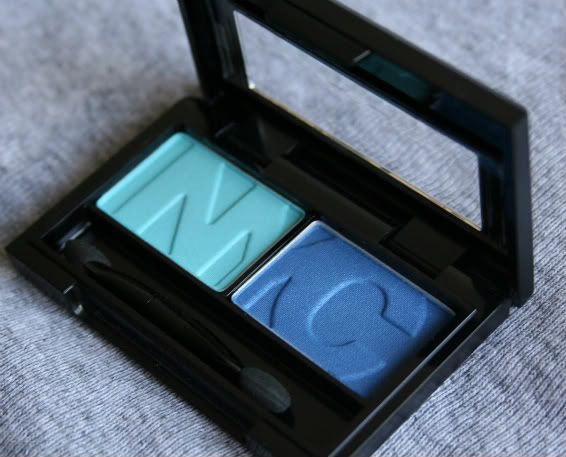
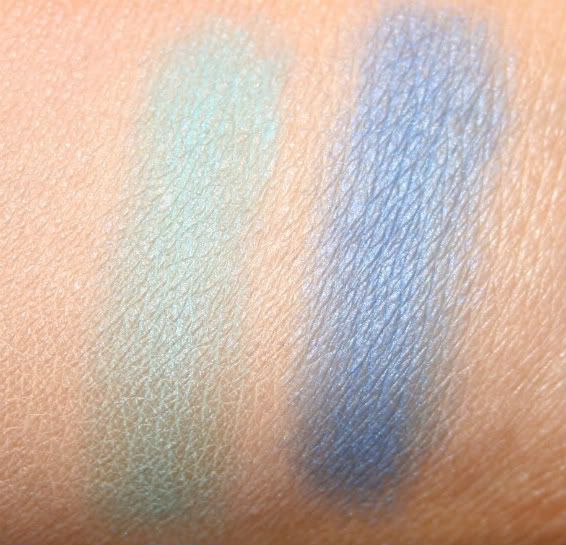
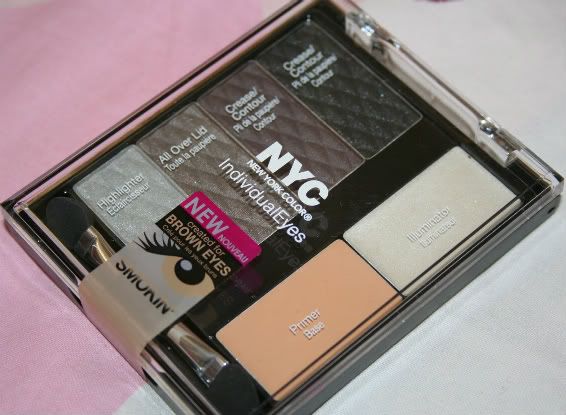
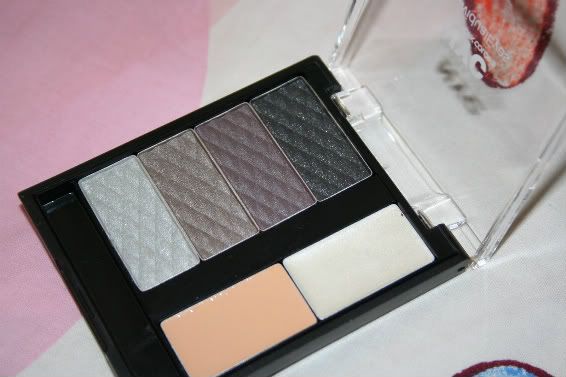
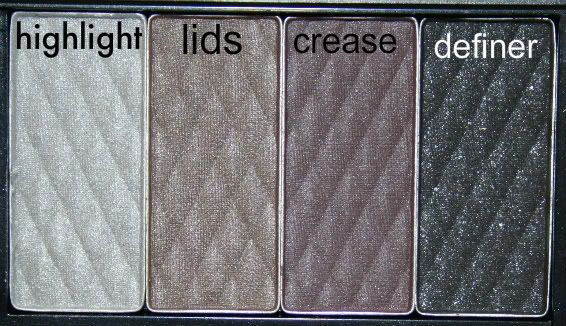
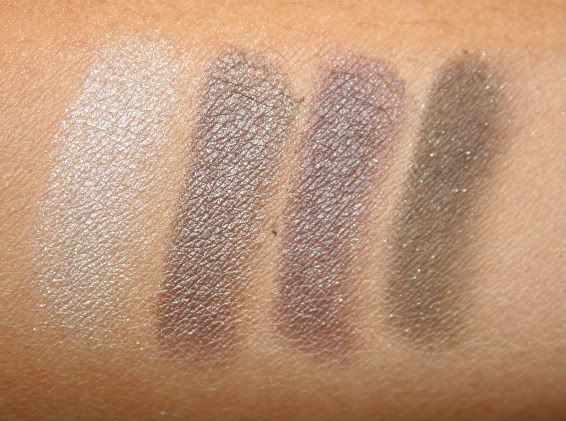
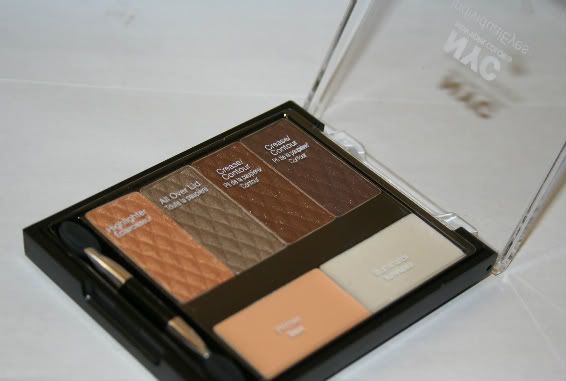
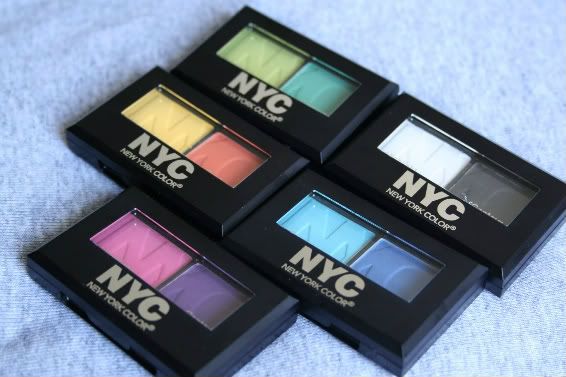
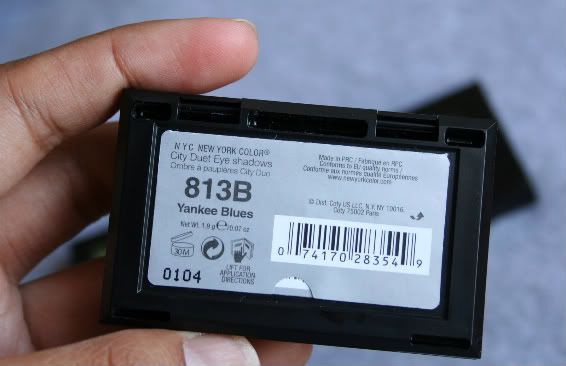
NYC Individual Eyes palette Created for Blue Eyes $4.99 is what I used on my eyes. I really like this palette because it has all you need to create a beautiful eye makeup: complimentary eye shadows, an eye primer that works and a cream highlighter. Even though it's created for blue eyes, it can also work for any eye color. I have dark brown eyes and it looks great on me. Click HERE for more my review and swatches.


How To: Eyes 
  • Use the primer in the palette to prime the eyes. It will neutralize the eye lids and make the eye shadow last longer. 
  • Create a black base by smudging a black gel liner all over the lids. You can use any black eye liner. This will make the brown eye shadow more darker. 
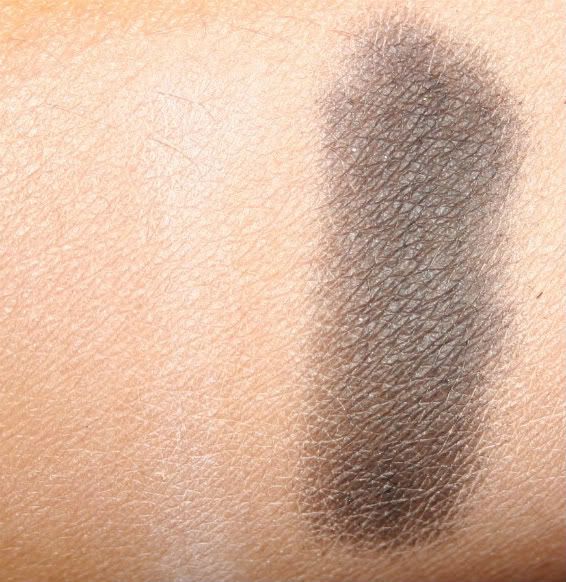
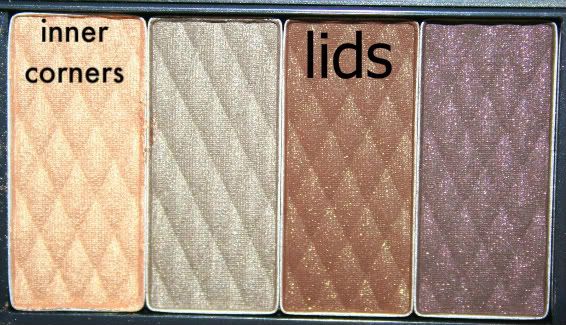
  • Using a dense eye shader brush (a dense brush will pick up more color), dip it on the brown eye shadow and pat it all over the lids stopping on the crease. 
  • Blend the edge with a fluffy blending brush to get rid of the harsh line.
  • Apply the champagne gold shadow on the inner corners of the eyes and 1/3 of lower lash line blending it to the inner 1/3 of the eye lids. This bring in light and create dimension to the eye makeup.
  • Line the eyes with a black gel liner, curl lashes, apply a black mascara.
By the way, I skipped the brow bone color. The primer I used was light enough to highlight that area.


Wet n Wild Color Icon blusher in Pearlescent Pink $2.99 is what I used on my cheeks. It's a peachy pink color with gold flecks. It's a great dupe for Nars blush in Orgasm.


  For the lips, I went for a light lips so it would not compete with the dark eye makeup. I did a natural nude lips using Sally Hansen Diamond 12 Hour Lip treatment in Princess $6.29. It's a gorgeous natural nude lip gloss with moisturizing properties.


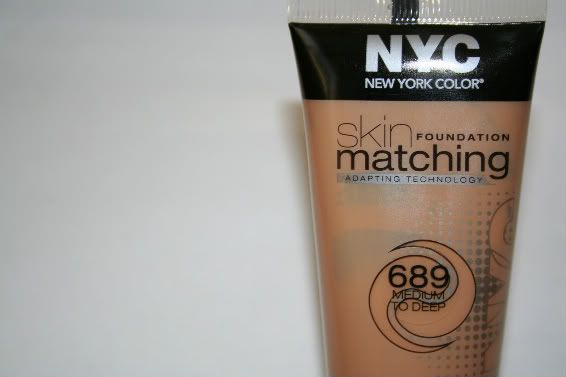
(photo source: Walgreens.com)


Products used:
eyes:
-NYC Individual Eyes Created for Blue Eyes eye shadow palette (Review/Swatches)
-Stila Smudge Pot in black (Review/Swatch)
-Maybelline Falsies Volum Express mascara in black (Review/Photos)

face:
-Rimmel London Fix and Perfect foundation primer (Review)
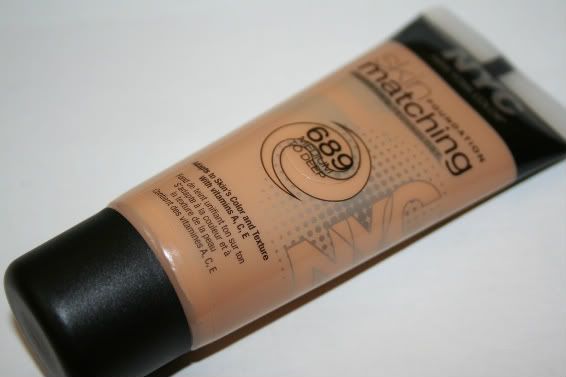
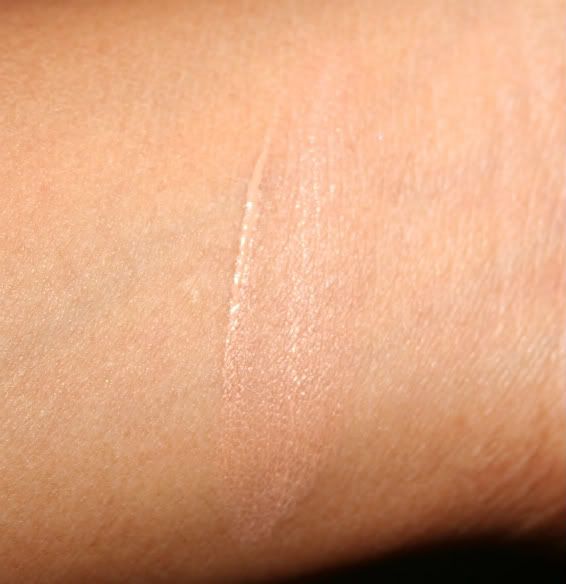
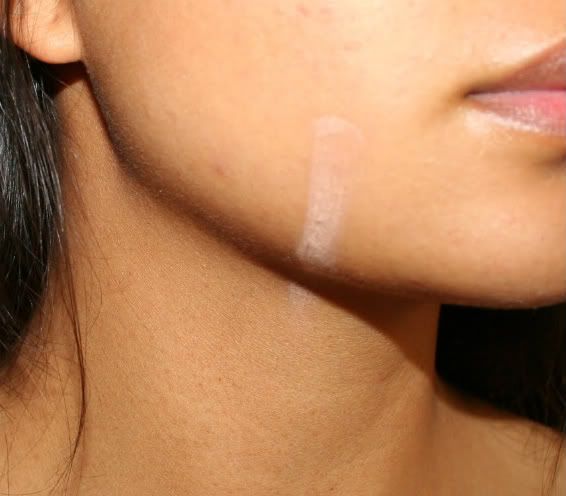
-Mark Flawless Touch Face Xpert liquid foundation in Golden (Review/Swatch)
-Almay Line Smoothing concealer in medium (Review)
-Mark Powder Buff powder foundation in Golden (Review/Swatch)

cheeks:
-Wet n Wild Color Icon blusher in Pearlescent Pink (Review/Swatch)

lips:
-EOS lip balm in Summer Fruit (Review)
-Wet n Wild Color Icon lip liner in Willow (Swatch/Photos)
-Sally Hansen Diamond 12 Hour lip treatment in Princess (Photos)


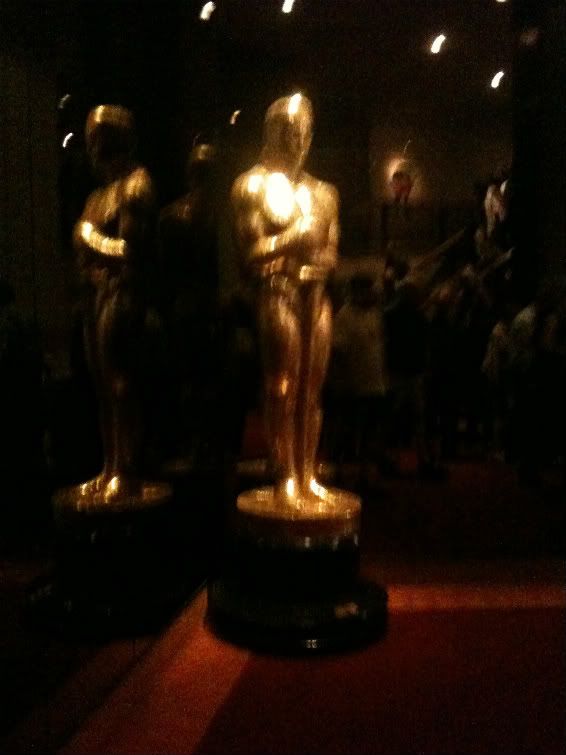
 There's no cameras allowed in the building, but I managed to snap a few photos (sorry, they're blurry) using my  Iphone.

There's an Oscar standing in every corner of the room.

I snapped this photo during the short film prior to the featured movie. 

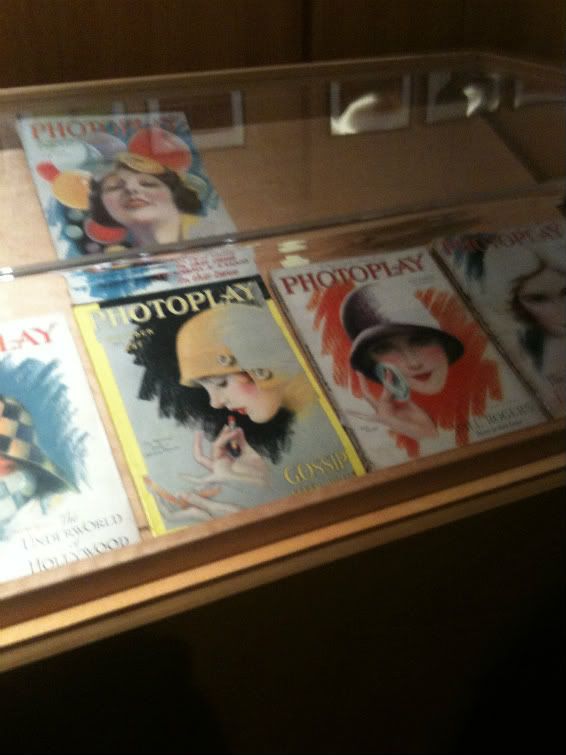
After the movie, we went down to the lobby to check out the at the displays of the memorabilia of the featured movie  These are called Photoplay magazines. They were the very first film fan magazines back in early 1900's used as promotional tool. I love the women in the covers. They're all beautiful.


Here are some photos I found on Google 


Friday, July 29, 2011

NYC City Duet Eye Shadow Duo Collection + Swatches

Here are all the NYC City Duet eye shadow duos I own plus swatches. These duos have colors that compliment each other to create an eye makeup look. You can get them at your local drugstores for only $2.99.


Island Sunset
Matte pink and purple duo
This is my favorite out of all the duos. The color pay off is awesome.


\

Here's what it looks like on my eyes. You can use the purple all over the lids and pink on the crease for a dramatic purple smoky eyes. See more photos of this look HERE.


Pink all over the lids and purple on the outer corner and crease. See more photos HERE.


Bowling Green
Satin Lime Green and Matte Blue Green duo
The color pay off is pretty good, but I suggest to apply these wet to achieve brighter colors.


I used the lime green eye shadow on this bright Summer makeup look. I applied it wet all over my lids. See more photos HERE.


NYC Times
Matte White and Black duo
This is my least favorite out of all the duos. I'm not too happy with the color because it's too chalky and the black eye shadow is not a true black. It's more of a dark grey.


Upper Zest Side
Matte bright Yellow and Orange duo.
These have good pigmentation, but I suggest apply it wet for more intensity.


Yankee Blues
Satin Baby Blue and Periwinkle blue duo


I used it on my lower lash line for a fun pop of color. See more photos HERE.


Have you tried any NYC City Duet eye shadow duos?
How do you like them?


Disclosure: Everything was purchased with my own money.


Thursday, July 28, 2011

Review/Photos: NYC Skin Matching Foundation.

I was really excited when I was given the opportunity to try NYC Skin Matching foundation. Usually, whenever I think of NYC or New York Colors cosmetics, the first thing that comes to mind is their awesome bronzing powders or 99cents lipsticks and not foundation. I was even more excited to try it because it has "breakthrough tone to tone shade adjusting technology that adapts shades to skin's color and texture." (NewYorkColor.com) I've never tried anything like it and I was very curious to see if it works.


The photo above is how one layer of foundation looks on me. It's in shade medium to deep with neutral undertone and semi matte finish. I'm surprised that it's a pretty good match for my NC42 skin tone. It looks light on initial application, but it blends in nicely once it sets for awhile on my face. It even looks great in photographs and doesn't leave a white mask on my face. 

What I like the most is the thin liquid texture. It reminds me of a tinted moisturizer but with more coverage. It's easy to blend and feels light. The coverage is sheer, but buildable to medium. I don't have much blemishes to cover up, so it evens out my skin tone pretty well. However, I still have to use concealer to cover up a bit of redness and blemishes.

I've tried applying it using my fingers, dry and wet cosmetic sponge and foundation brush and all came out well, but my favorite is the wet sponge. Using a wet sponge gives the most natural look because it's sheer. I just add another layer if I want more coverage.


Swatch of medium to deep shade on my arm


Swatch on my face down to my neck. See how it looks lighter than my skin tone?..


...but once it's blended all over my face, it's a pretty good match.


How 2 layers of foundation looks on my face. It looks a tad lighter, but it still works ^_^


So, this product works. It works for me. I've been using it for a week and I love it. I will purchase once I run out. The shade medium to deep was able to match my medium skin tone pretty well. It has decent coverage, easy to blend and feels very light and the best part is the $3.99 price tag. You can't beat that ^_^. Get it at your local drugstore now!


Have you tried it before? 
What are your thoughts?


DISCLOSURE: A sample of this product was given to Everyday Makeup blog for editorial purposes, either directly from the manufacturer or from the agency that works on behalf of the manufacturer. All reviews on Everyday Makeup blog are the honest opinion of its author and editorial samples do not, in any way, affect the outcome of product reviews.

LOOK: NYC Individual Eyes Smokey Browns

My niece Meme turned 13 yesterday. Dang, I can't believe she's a teenager now O_o. Time really goes by super fast. I feel like it wasn't too long ago when I used to pick her up from preschool across the street from my house. She used to be a brat and always gave me attitude when she's not in the mood. However, she can be the sweetest person ever when she's nice ^_^. Now, she's 13, so pretty and way taller than I am haha.

So my family and I went out for dinner last night to celebrate her birthday and this is the makeup look I wore. I did a smoky taupe and grey eyes, pink cheeks and mauvey pink lips with lots and lots of gloss. This look is a bit dramatic, so I recommend wearing this kind of look during night time.


For the eyes, I used my new NYC Individual Eyes eye shadow palette in Smokey Browns Created for Brown Eyes, and I love it. I've used the Individual Eyes for Blue Eyes before (read my review HERE), and I'm just as pleased. The eye shadow formula is impressive. The colors are pigmented, quite soft in texture and easy to blend. It consist of 4 colors that supposed to enhance brown eyes, but of course people with different eye color can use it as well. I also really like the primer it came with because it actually works! I didn't expect it to work so well. It neutralizes my eye lids and prevents my eye shadows from creasing for a good 4-5 hours, which is pretty good considering I have oily lids.


I used the palette as suggested with a little twist. Frosty Silver as a highlight, Shimmery Satin Grey Taupe all over the lids, Shimmery Grey-ish Plum on the crease and Sparkly Black as a definer. The twist was I added the frosty silver on the inner corners of my eyes blending it with the lid color to make the eyes look bigger.You don't have to use it this way. You can place the colors where every you want.


Swatches on top of the primer that comes with the palette. The colors are more vibrant. However, I noticed the sparkly black eye shadow didn't show up too well on the swatch, but it did on my eyes.


Products used:

eyes:
-NYC Individual Eyes in 941Smokey Browns Created for Brown Eyes
-Sonia Kashuk gel liner in Ebony
-Rimmel London Eye Magnifier Eye Opening waterproof mascara in black.

face:
-Rimmel Fix and Perfect foundation primer (Review HERE)
-NYC Skin Matching foundation in 689 Medium to Deep
-Dermablend Setting Powder

cheeks:
-NYC cream blush in Glow (Review HERE)

lips:
-EOS lip balm in Summer Fruit
-Wet n Wild Color Icon lip liner in Willow
-L'Oreal Colour Riche lipstick in Pink Tranquilo
-NYC Liquid Lip Shine (clear)


I used a nude lip liner to line my lips and erase my cupid's bow by lining the lips outside the natural lip line. Then topped it off with a lipstick and packed on the clear gloss. It's supposed to make my lips bigger and fuller ^_^.


I highly recommend this drugstore palette not only for brown eyes, but also for people with any eye color. For $5, it's an awesome deal. It has beautiful eye shadows and it comes with an eye primer that works!


DISCLOSURE: A sample of this product was given to Everyday Makeup blog for editorial purposes, either directly from the manufacturer or from the agency that works on behalf of the manufacturer. All reviews on Everyday Makeup blog are the honest opinion of its author and editorial samples do not, in any way, affect the outcome of product reviews.