Don't forget to enter my Quench Bath and Body Giveaway!!! It's so easy to enter. Click HERE!
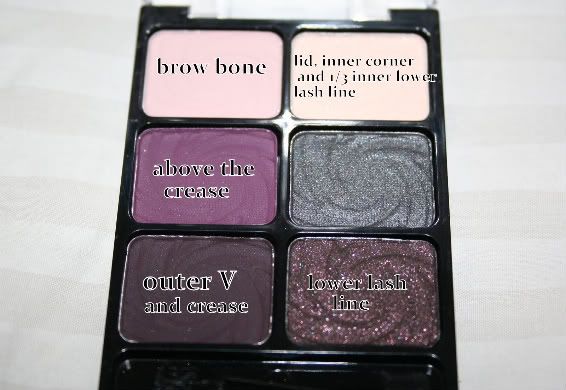
I looked into my makeup drawer and I wanted to use other eye shadow palettes I have. I saw my Wet n Wild Color Icon eye shadow palette in Comfort Zone $5 (Buy it at drugstores) and thought I'd give it some love since I haven't used it in awhile. It's a great eye shadow palette that consist of beautiful neutral colors to create numerous day time and night time look. The texture is like butter, so pigmented and easy to blend.
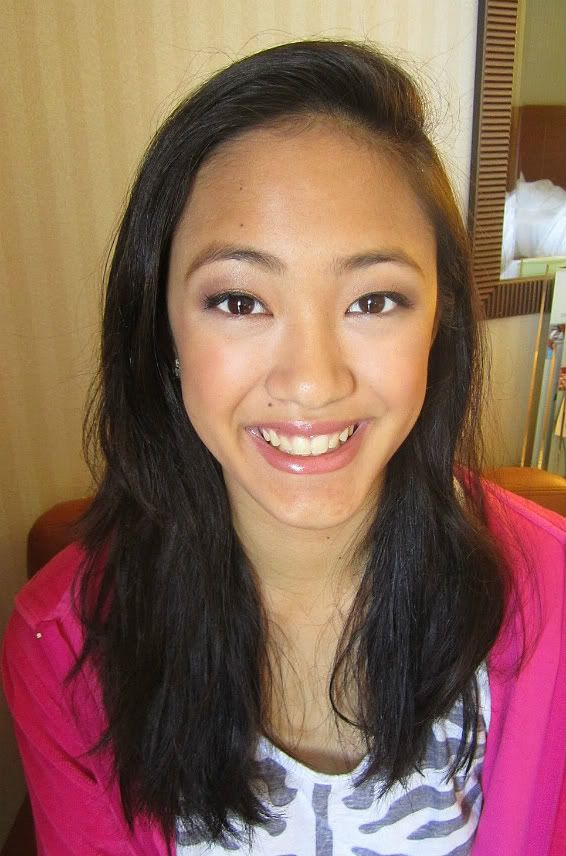
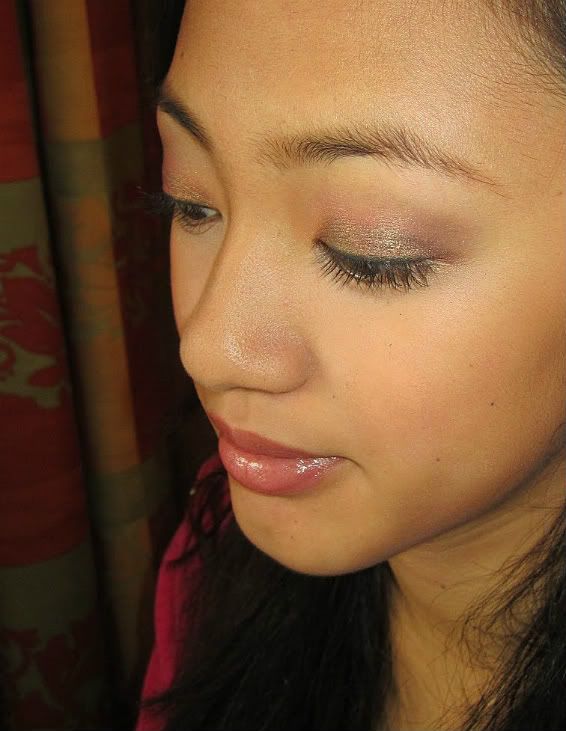
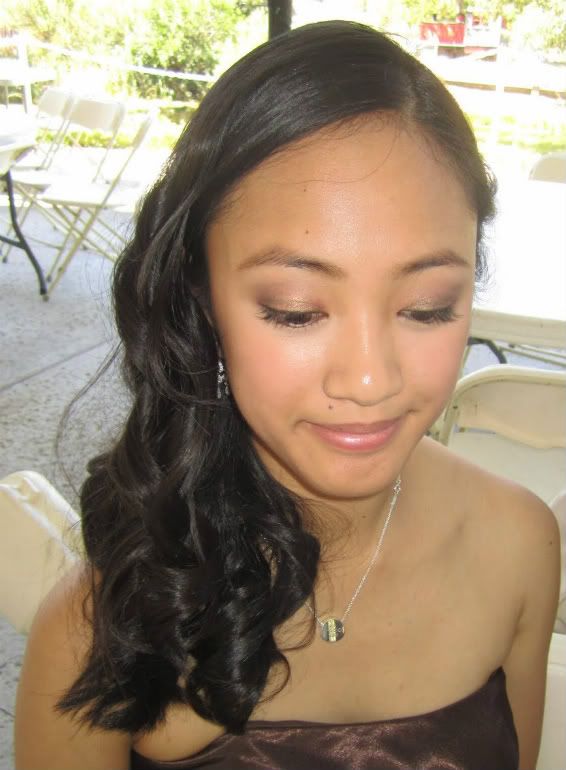
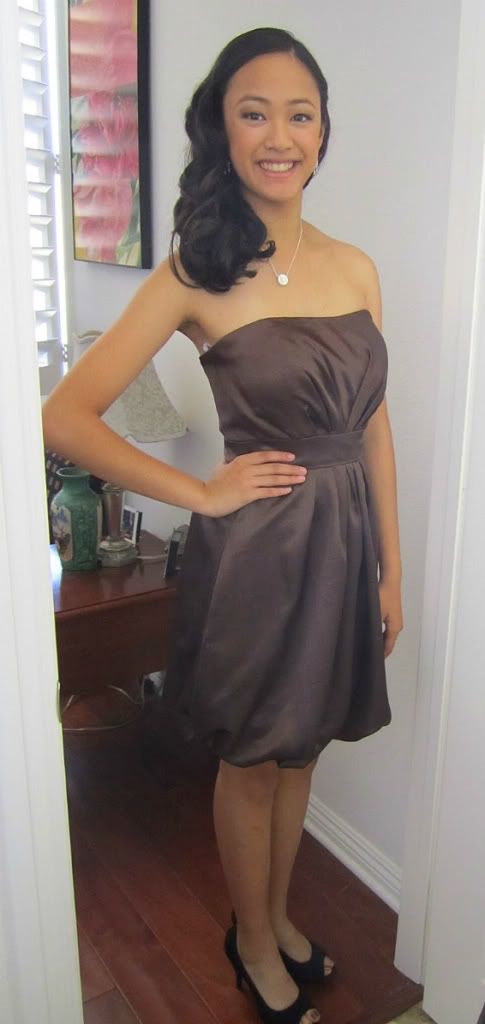
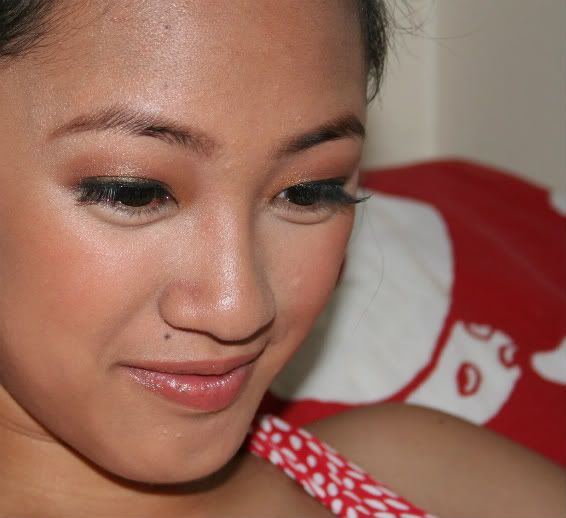
The look I came up with is a sultry Smoky Bronze eyes with pinky purple lips. It's a bit dramatic, so I suggest wearing this look for night time. If you want to wear it for day time, just skip the dark eye shadow I used on the outer corner.
I looked into my makeup drawer and I wanted to use other eye shadow palettes I have. I saw my Wet n Wild Color Icon eye shadow palette in Comfort Zone $5 (Buy it at drugstores) and thought I'd give it some love since I haven't used it in awhile. It's a great eye shadow palette that consist of beautiful neutral colors to create numerous day time and night time look. The texture is like butter, so pigmented and easy to blend.
The look I came up with is a sultry Smoky Bronze eyes with pinky purple lips. It's a bit dramatic, so I suggest wearing this look for night time. If you want to wear it for day time, just skip the dark eye shadow I used on the outer corner.


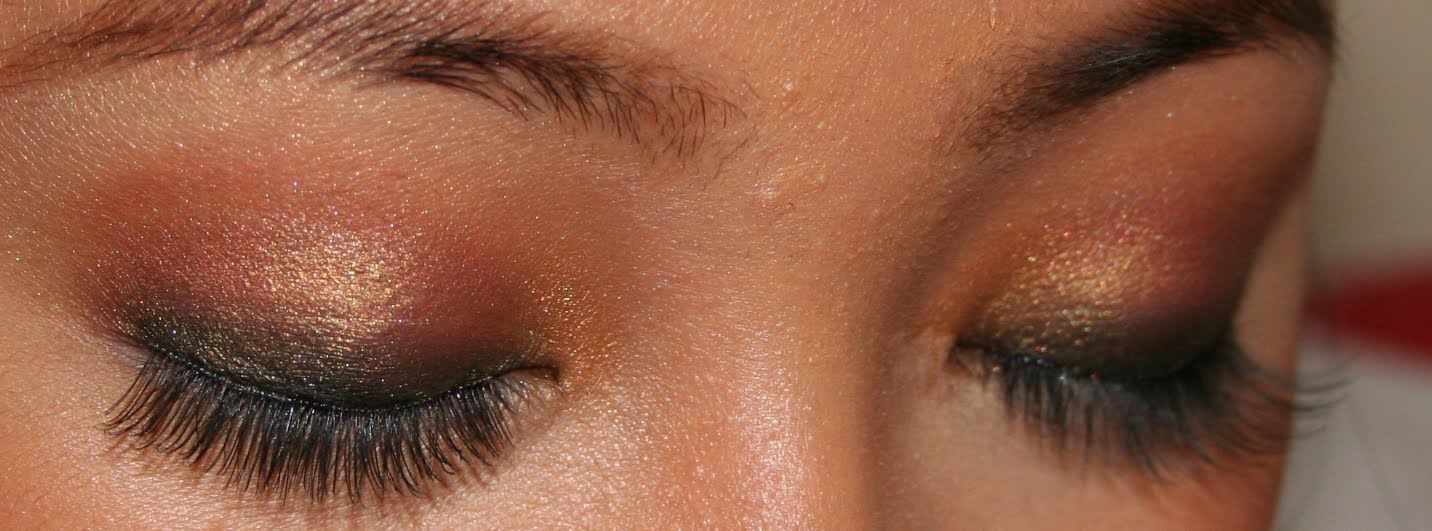
I used 3 colors in the palette and created a Smoky Bronze eye makeup. After priming my eye lids, I applied the bronze eye shadow all over the lids passing my natural crease. It's such a beautiful color on it's own. Then I used a blending brush and brushed the edge to get rid of harsh lines. I added a tad of the dark plum color in the palette just on the outer corner of the eyes to add smokiness and depth. Then, I used the shimmery french vanilla shade on the inner corners of the eyes then blend it towards the lids to add brightness.


For the lips, I used 2 lip colors. NYX Round lipstick in Paris, which is a blue based pink lipstick all over the lips, then NYX Round lipstick in Power, which is pinky lavanter on the center for a subtle highlight. Using 2 shades creates a beautiful dimension to the lips.

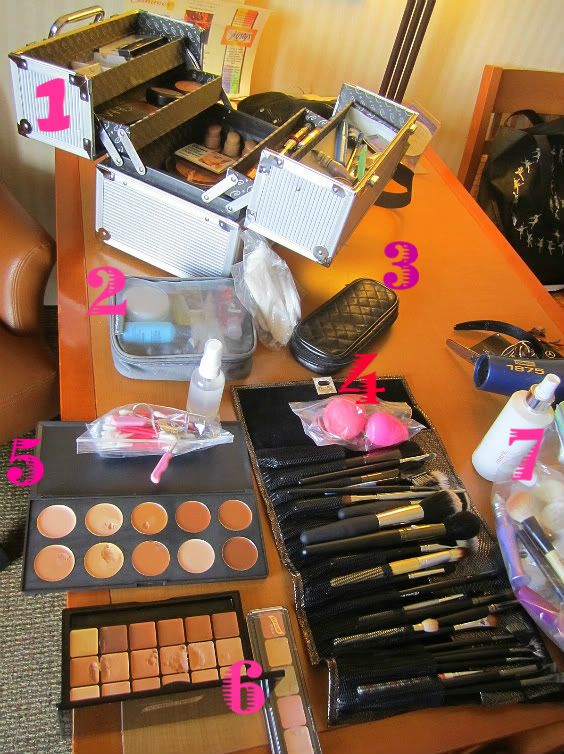
Products used:
face:
-Rimmel London Fix and Perfect foundation primer
-MAC Studio Fix fluid in NC42
-Almay Bright Eyes eye base and concealer in medium
eyes:
-Almay Bright Eyes eye base and concealer (primer)
-Wet n Wild Color Icon eye shadow palette in Comfort Zone
-NYX single eye shadow in Highlight
-Cargo HD eye liner pencil in black
-Maybelline Volum Express Falsies mascara
cheeks:
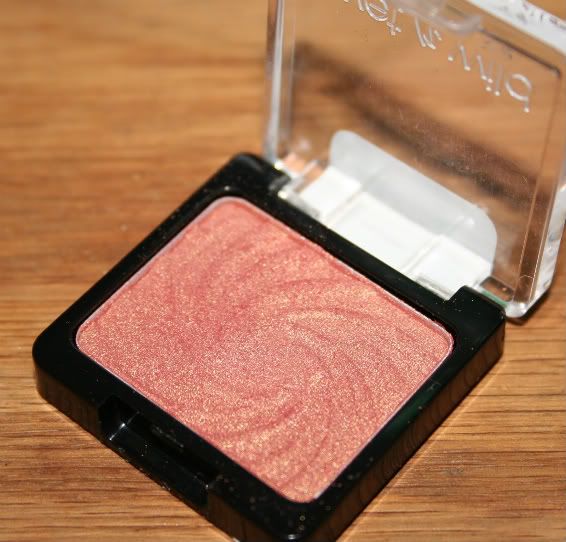
-MAC Melba blush
lips:
-EOS lip balm in Summer Fruit
-Wet n Wild lip liner in Willow (used to neutralize the discoloration on my lips)
-NYX round lipstick Power
-NYX round lipstick in Paris (applied at the center)