ONLINE COSMETICS 2012
MORE INFO ABOUT COSMETICS
Showing posts with label LOOK: neutral. Show all posts

Thursday, August 11, 2011

FOTD: Chanel Eyes and NYX Lips

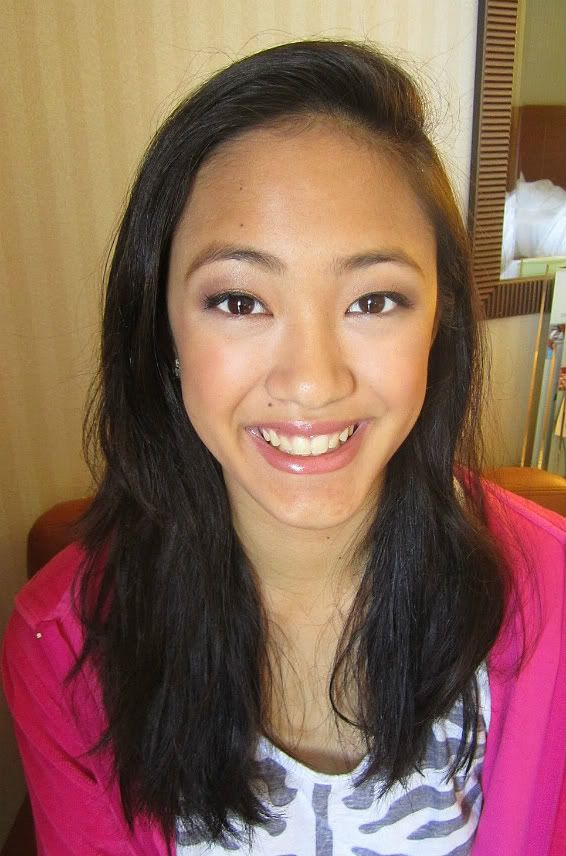
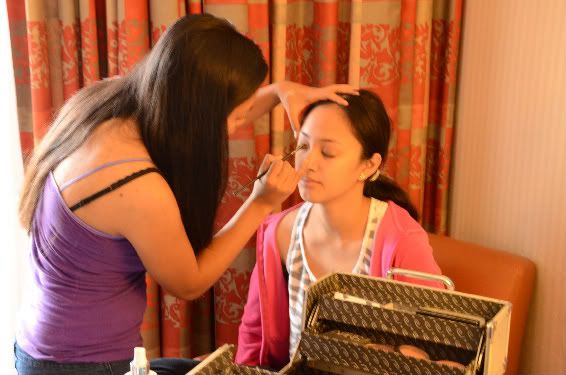
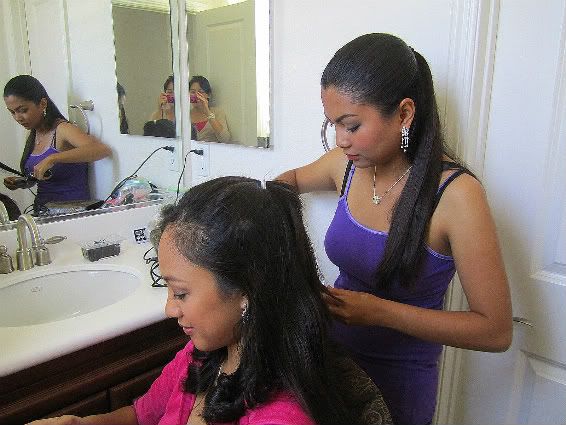
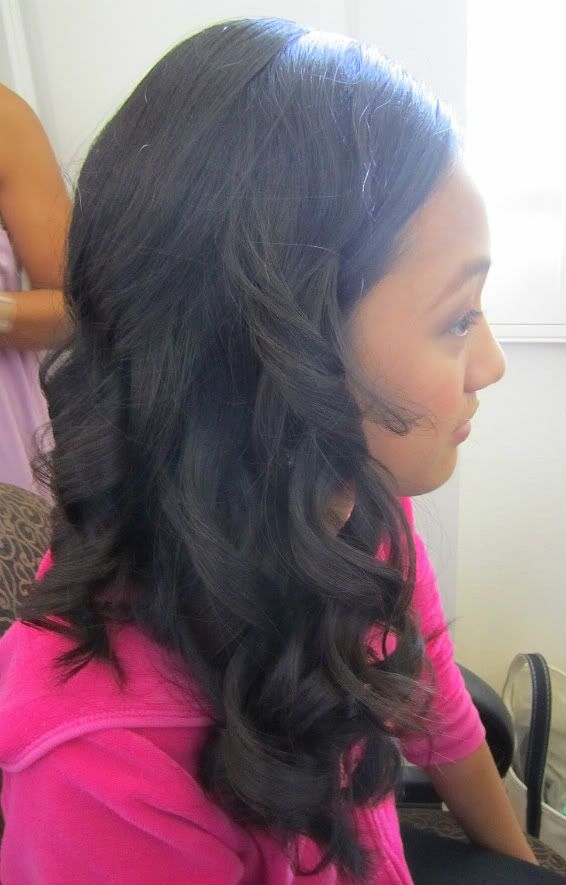
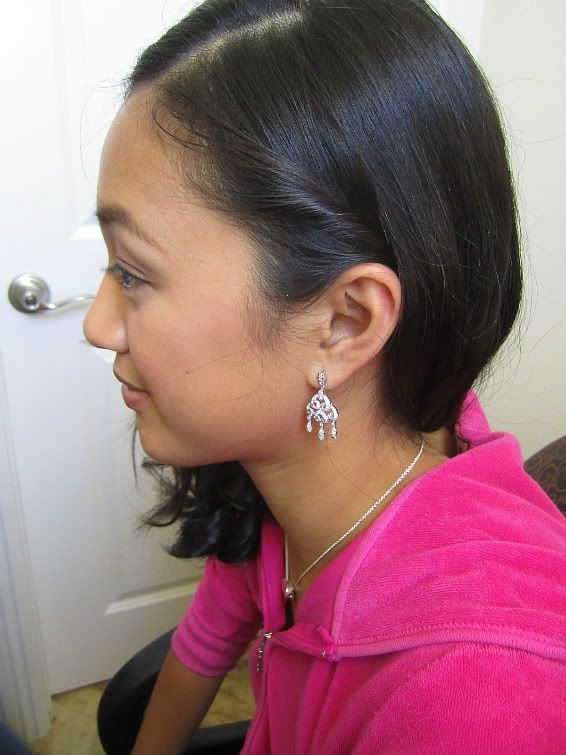
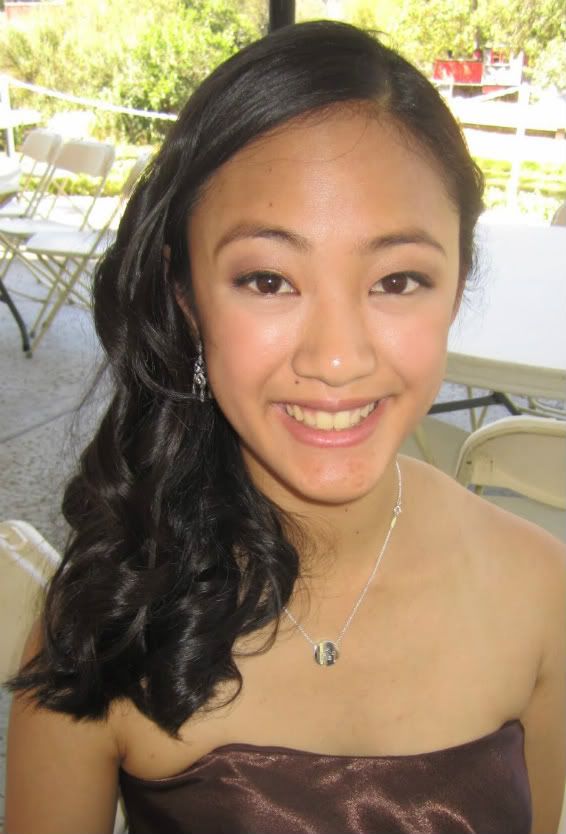
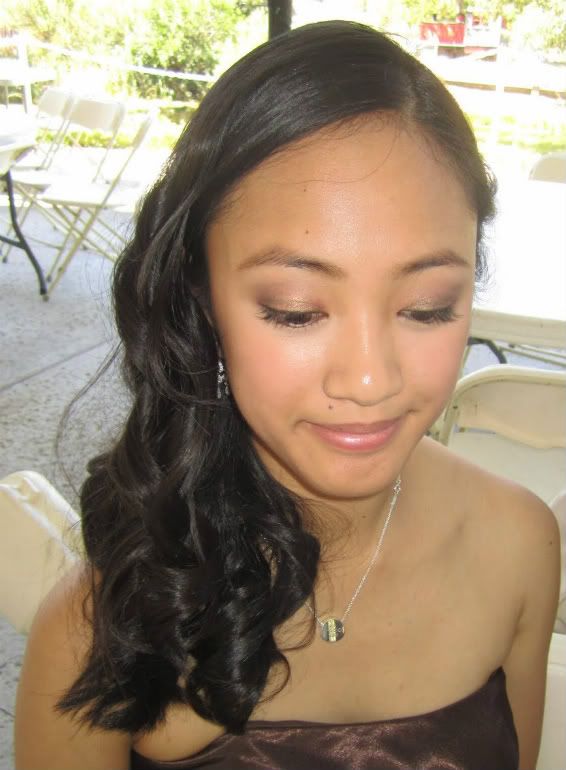
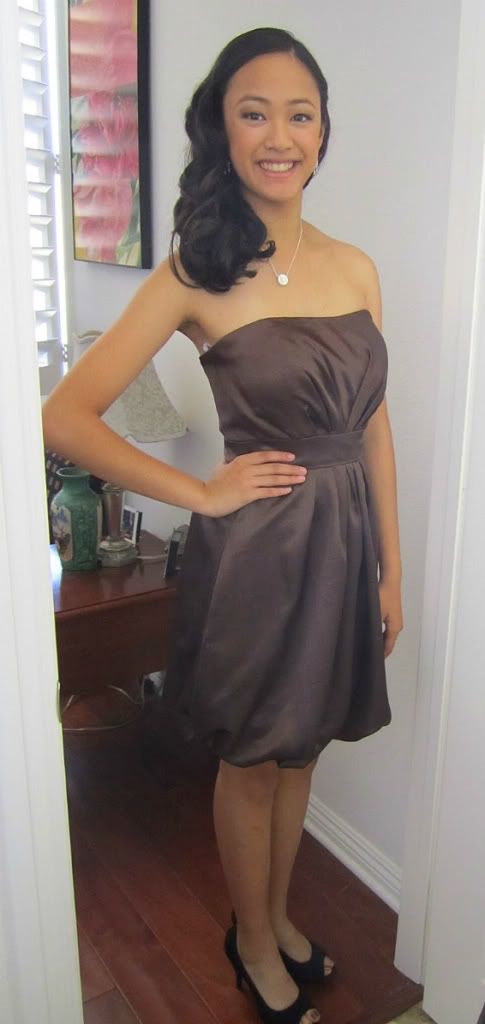
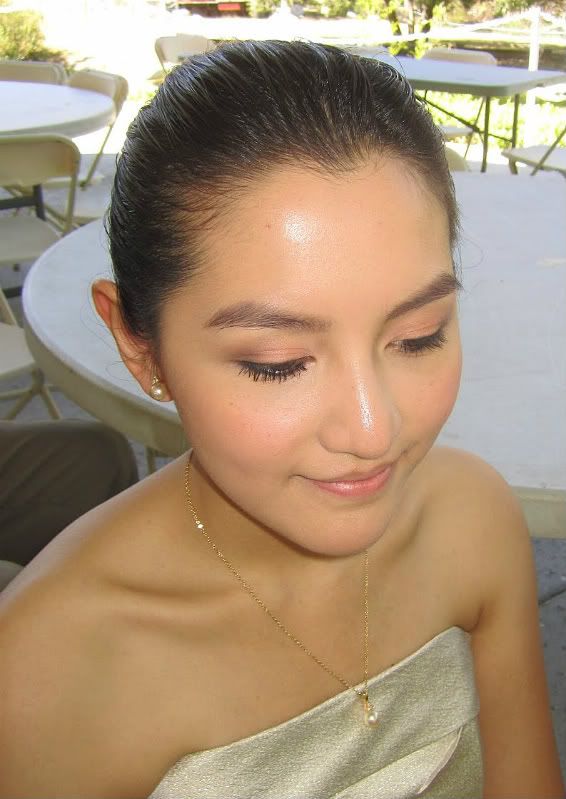
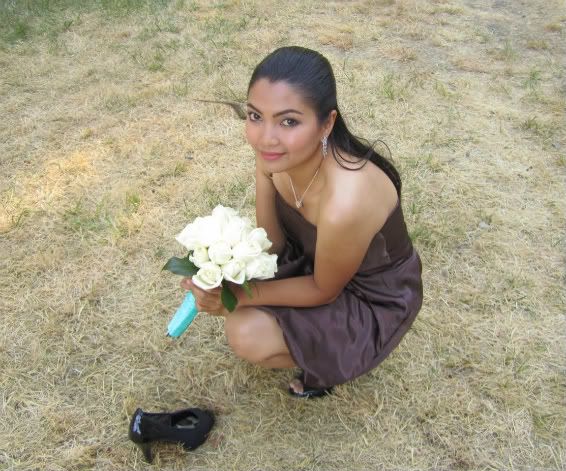
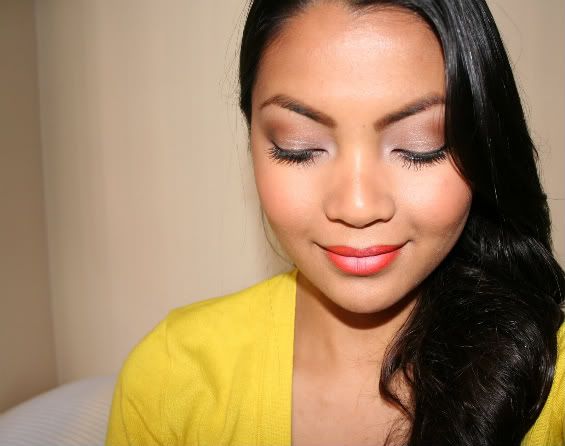
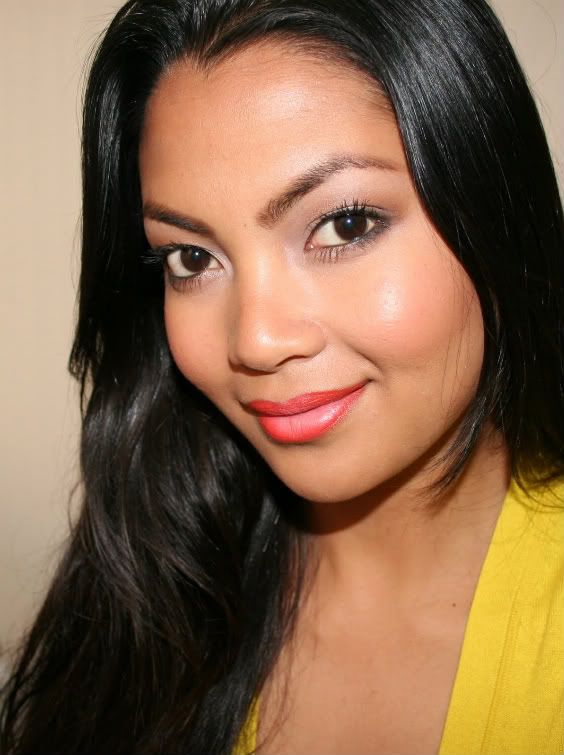
The other day, I got dolled up for no particular reason. I was at home the whole day and didn't really go anywhere, but still wanted to look pretty. I woke up early, took a shower, had a light breakfast, then did my makeup and hair, wore my favorite dress ever and cleaned and organized the house...What a day lol.


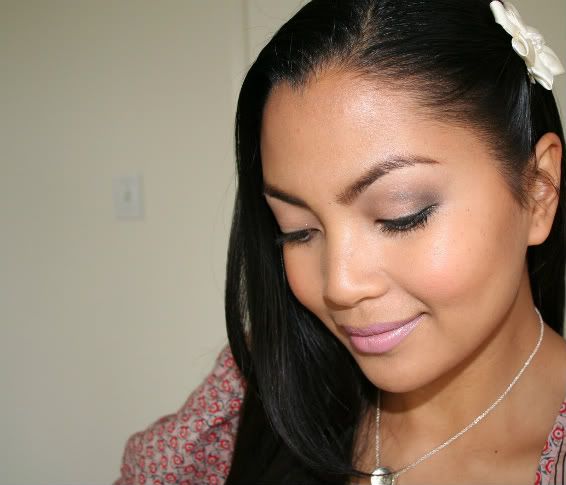
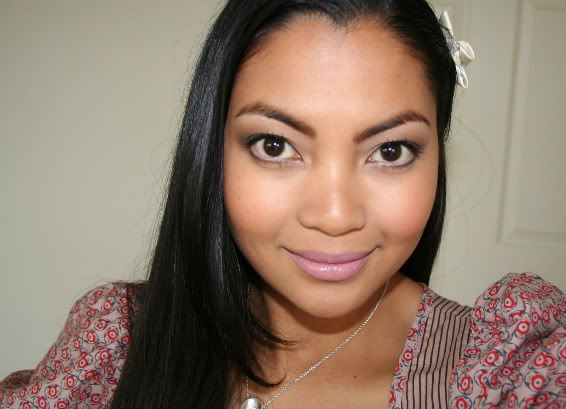
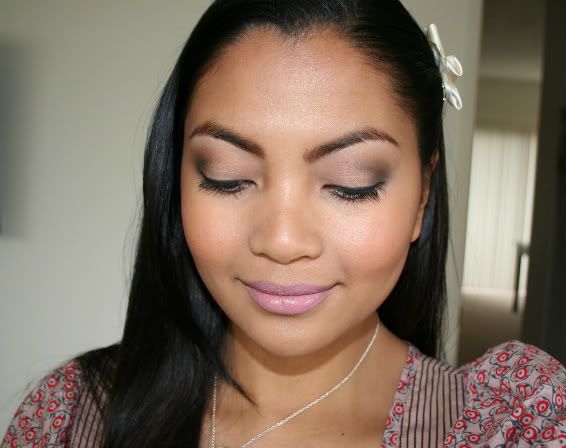
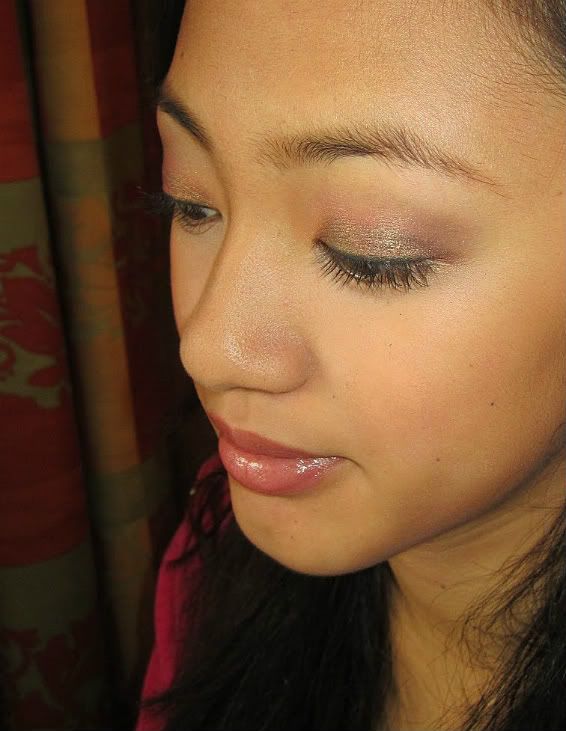
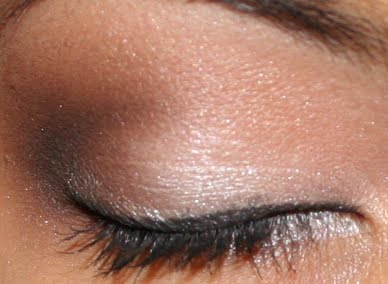
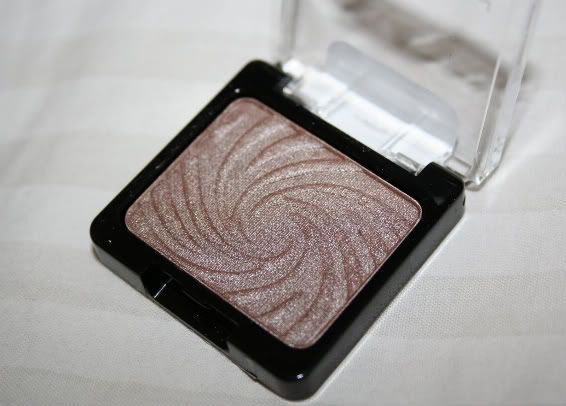
I did a neutral eye makeup using my Chanel eye shadow quad in Winter Nights $56. It's actually my very first eye shadow palette and I rediscovered how much I love it. It consist of 4 neutral shades: taupe (crease), light pink (lids) light peach (highligh) and black with gold specs (definer), and can be used to create day and night makeup.The shadows are soft and silky and the shimmers in it are so fine that it gives a nice sheen on the eyes , especially when the sun light hits it. So gorgeous!

This is not my photo. I got it from google. My quad is so old and beat up that I'm a bit embarrassed to post a photo O_o.


I applied a light pink eye liner on my water line to make my eyes look bigger.
I used Benefit Eye Bright $20. You can buy it here.


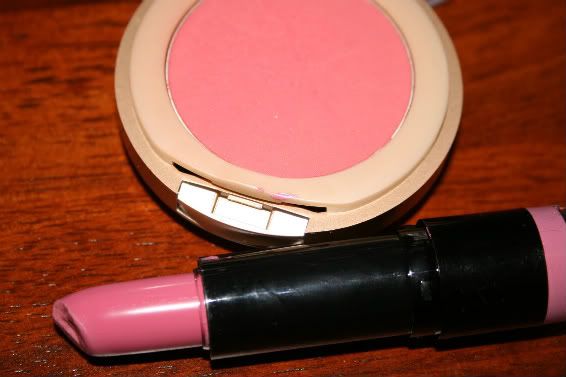
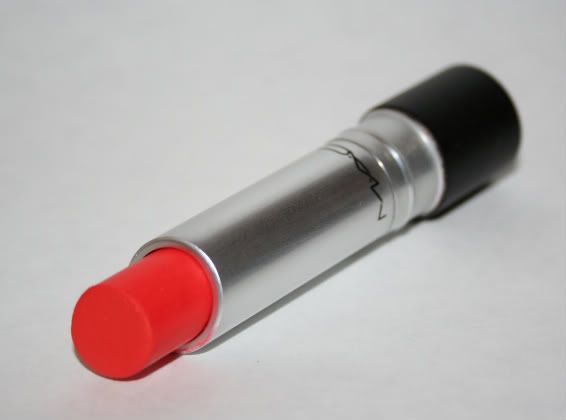
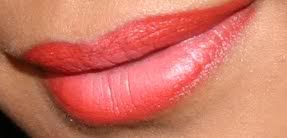
I used Milani Mineral blush in Mai Tai $6.49 for my cheeks. Buy it HERE. I've been reaching for this blush a lot lately. Its a gorgeous bright coral. For my lips, I used NYX round lipstick in Paris $1.99. Buy it HERE. It's a pale pink with purple undertone. I haven't used this lipstick much because I think it's too light for my skin tone, but I managed to make it work buy adding E.L.F. Minty lip gloss in Los Angeles $3.00, which is sheer fuschia. It tones down the paleness of the lipstick. Buy it HERE.


Products used:

eyes:
-NYX Eye Base in skin tone
-ELF Eye Primer 
-Chanel Winter Nights Quad
-Benefit Eye Bright
-Stila Smudge Pot in black
-Maybelline Volum Falsies mascara

face:
-ELF Mineral Face Primer
-NYC Skin Matching foundation in medium to deep
-Almay concealer
-Mark Powder Buff foundation in Golden

cheeks:
-Milani Mineral blush in Mai Tai
-Milani Mosaic blush in Afterglow (Review/Swatch)

lips:
-EOS lip balm in Summer Fruit (Review)
-Wet n Wild lip liner in Willow (Photos)
-NYX round lipstick in Paris (Review)
-ELF lip gloss 


I'm back on Youtube. I posted my "come back" video yesterday talking about my favorite products of July. Hope you guys check out my channel and subscribe ^_^


Monday, July 25, 2011

Bridesmaids Makeup, Freelance Makeup Kit and etc...Pic Heavy


Hey everyone! I missed you all so much. I wasn't able to blog for a few days because my family and I went out of town this weekend to attend my cousin's wedding. We stayed at a hotel and they didn't have the best internet connection and my phone wasn't able to get the best signal so even updating facebook and twitter was such a pain. Dang you AT&T! But I had a lot of fun. It was a really fun wedding, and I'm so happy I got to spend quality time with family members and relatives whom I haven't seen in such a long time.

Here are some photos over the weekend. I did hair and makeup for family and friends and it was a lot of fun. I love the trust they give me to make them look pretty. These photos were taken using my small Canon digital camera so the quality is not that great. More and better photos are in my cousin's camera, so once I get a hold of them, I'd share them with you.


My freelance makeup kit
(I labeled them with numbers. I hope it's showing)

1. Almost all my makeup fits in this Caboodle Pro Cosmetic Case. Buy it here. It's a spacious metal case with 4 fold out trays with a deep compartment in the center. It fits everything you see in the photo except for the brush roll and my personal makeup (inside the ziploc bag).

2. All my primers and moisturizers are in this small mesh bag. 
    -Graftobian Oxyderm moisturizer
    -Dermalogica Oil Control lotion
    -Makeup Forever Primer
    -The Body Shop Vitamin E eye cream
    -Carmex lip balm
    -Bath and Body Works hand sanitizer
    -Makeup Forever eye makeup remover.

3. Inside this small faux leather bag are 3 plastic and 1 metal spatula (to scoop cream foundation and concealer) scissors and tweezers.

4. The pink looking balls are my Beauty Blender. They're non latex reusable sponges. I use them to blend foundation and concealer on the face. My brush roll from Crown brushes with all kinds of brushes: Crown, Coscto, Stella, Sigma Makeup and Eco Tools.

5. Q-tips, mascara wand and Concealer palette from Sedona Lace. You can buy it here.

6. Graftobian High-Def Glamour Creme in Warm and Corrector Palette. Buy them here. I highly recommend these palette if you're interested in starting your own freelance makeup kit. You get all kinds of shades from lightest to darkest in one compact palette.

7. You can't really see it, but it's a huge ziploc bag of my personal makeup and brushes. I don't use the same makeup and brushes that I use on my clients. I should probably get my own caboodle or big makeup bag to store them, but ziploc would do for now ^_^. 


My niece Ysabella was one of the bridesmaids. She's only 16 and it's her first time to be a part of a wedding.  I did the same makeup from the makeup test I did on her, which you can find here, but with few changes. The main eye shadow was still Penny from Wet n Wild Color Icon, but I applied it wet under a black base instead of bronze. It gave the shadow a greenish peach sheen. It's so gorgeous!


 I really love this eye shadow because it has a duo chrome quality to it. The color changes in different angles. In the photo above, it looks like a green-gold-ish peach ^_^.  It's so gorgeous!


I also did her hair, which is inspired by Itsjudytime's Easy Sideswept hair Tutorial on youtube. Gosh, I love her hair tutorials. They are so easy to follow! Thanks Judy!


I did the makeup of the 3 flower girls. They're sisters and they were so sweet and funny. They were very curious as they watch their sister get their makeup done and the asked so many questions lol.


Here is my friend Melissa. She's the sweetest and she let me do whatever I want with the makeup. I did a fresh looking makeup with heavy eye liner. The eye liner I used on her is Makeup Forever Aqua Eyes in Mat Black. You can buy it here. This stuff is intense! It's waterproof and smudge proof and stayed on all day and night. I highly recommend it. 


I was one of the bridesmaids too. My feet was hurting really bad because of my heels. They're adorable, but dang it, they hurt lol.


I'll show more photos in another post. Thank you so much for stopping by. If you have any questions regarding the makeup I used, just shoot me down a comment below.


Friday, May 13, 2011

BeautiControl Sandstone Neutral Eye Makeup Tutorial

Besides smoky eyes, Everyday Neutral eyes is my other favorite eye makeup. It's what I like to do when I'm not feeling too creative and I just want something easy and pretty. I like how it goes with whatever lip and cheek color too. It simply enhances my eyes in a very natural way.

For this tutorial, I used BeautiControl Mineral Shadow Trio in Sandstone. It has all the neutral colors I need to create an everyday look. Shimmery off white, soft brown and a matte brown eye shadow. Watch out for my review on this trio.


1. Prep the eyes by applying your favorite base/primer. Apply the shimmery off white all over the lids up to the brow bone using a big fluffy brush.

It should look something like this.

2. Apply the soft brown shade above the crease using a fluffy blending brush (Sigma Blending Brush). This will be the transition color from the crease to the brow bone and will act as a background for the crease color.

It should look something like this.

3. Apply the shimmery off white shade all over the lids using an eye shader brush (I'm using ELF $1 shader brush).

It should look something like this.

4.  Contour the eyes by applying the matte brown shadow on outer V using a medium pencil brush. This will give the eyes definition.

Contour to your own liking. It's up to you if you want to use more or less brown.


5.  Blend the shadows using a medium blending brush until the harsh line get blended into a nice fade.

It should look something like this.

6. Apply the same matte brown shadow on  the outer half of the lower lash line using an angeled liner brush. 

7. Apply the shimmery off white shadow on the rest of the lower lash line using the same angled liner brush. The shimmery off white will give the eyes a brighter look.

Were almost done ^_^

8. Line the upper lash liner and water line with Stila Smudge Pot in Black using an angeled liner brush. Curl lashes, apply NYX Doll Eye Long Lash mascara and you're finished!


It should look something like this ^_^


I hope this tutorial helps!


Thursday, April 21, 2011

Nutty and Good To Go

I did a makeup look featuring Wet n Wild ColorIcon single eye shadow in Nutty and MAC Pro Longwear Lipcreme in Good To Go. I wore this makeup to work yesterday and got a lot of compliments from clients and co-workers. I've had Nutty for awhile now and I can't believe I waited this long to try it. It's so velvety and smooth and applies like a dream. Good To Go is one of the lipstick my cousin gave me. It's a loud bright orange shade. I never thought I would wear orange lips, but once I did, I loved it!

Nutty is a gorgeous shimmery taupe eyeshadow. Velvety and smooth.
Good To Go is a bright orange lipstick. Shockingly gorgeous!


GET THE LOOK
Wet n Wild ColorIcon single eye shadow in Nutty is the main shadow I used.  


eyes:
-Prime the eye lids with NYX eye base in white. Make sure you use a little and you blend well.
-Apply MAC eye shadow in Cork (muted brown) above the crease with a fluffy blending brush. 
-Apply Wet n Wild ColorIcon single eye shadow in Nutty (shimmery taupe) all over the lids with a shader brush.
-Apply Mark eye shadow in Espresso (matte brown) on the outer corner blending it to the crease with a small blending brush. 
-Add definition to the eyes by adding Milani single eye shadow in Storm (shimmery black) on the crease with a pencil brush. Don't put too much. 
-Blend the colors together with a clean blending brush.
-Apply Wet n Wild ColorIcon single eye shadow in Brulee ( matte beige) on the inner corners and brow bone.
-Line the upper lash line with Physicians Formula felt tip liner in brown.
-Line the water line with Stila Smudge Pot in black and smudge it on the outer half of lower lash line.

face:
-Take off the shadow fall out on the face with a baby wipe. You want a clean face before applying face makeup.
-Apply MAC Studio fix fluid (NC42) all over the face with a wet sponge. Using a wet sponge will give a sheer coverage.
-Conceal slight dark circles with Almay Line Smoothing concealer in medium under the eyes. 
-Set the makeup with MAC Mineralized Skin Finish Natural in medium deep. This will help the makeup last long.

cheeks:
-Dust MAC powder blush in Melba (matte peachy pink) on the apple of the cheeks with a blush brush.
-Apply Milani Mosaic Powder blush in Afterglow (bronzer) under the cheekbones with an angled blush brush. This will contour the face, giving it a slimmer appearance.

lips:
-Apply EOS lip balm in Summer Fruit to moisturize the lips. 
-Apply MAC Pro Longwear Lipcreme in Good To Go  (bright orange) on the lips.
-Highlight the center of the lips with Wet n Wild ColorIcon single shadow in Brulee (matte beige). This will make the lips looks fuller, almost cartoon like.


MAC Pro Longwear Lipcreme in Good To Go


I'm wearing MAC Pro Longwear Lipcreme in Good To Go and Wet n Wild ColorIcon single shadow in Brulee in the center of the top and bottom of the lips. This gives a 3D effect for a pouter lips. It's almost cartoon like. ^_^